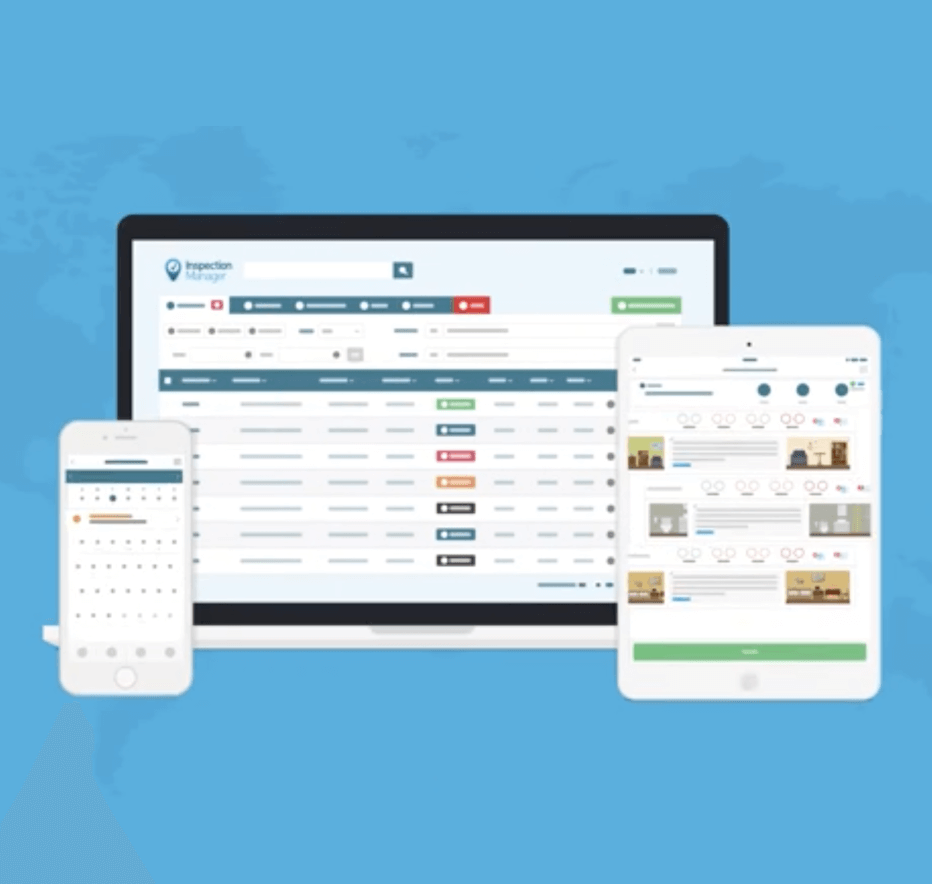
Imagine this – you take the same route to work every day and then one day you discover that there is a much shorter route. You realise how much easier and faster it is to get to work using the new route and you only wish you knew about it sooner. It’s the same as discovering a new feature in Inspection Manager, you realise how much easier and faster inspections become because of just one feature, and you wish you had started using it sooner. To save you the trouble of not knowing, we’ve compiled a list of Inspection Manager’s most useful features here, so you don’t have to live without them:
Add videos to your inspection
In many situations, videos have the power to communicate more than photos and words alone. Using videos in your inspections comes with many advantages including the ability to:
1. Capture noise and movement
2. Help explain complicated issues
3. Improve communicate with tradespeople
4. Show the greater context of the problem area
5. Show the overall condition of the property
For example, how do you capture a leaking tap as part of your inspection? Instead of taking a dozen photos or trying to explain the issue in words, you can record a video to clearly show what is happening (i.e. exactly where the leak is coming from, the speed of the leak etc…).
Add comments using Talk to Text
This feature offers an easy way to report on complex issues and add descriptive details to inspections. Instead of typing a lengthy comment, you can simply press down on the microphone button at the bottom of your keyboard and starting speaking. Your voice recording will be automatically transcribed into a written comment for the relevant photo or video.
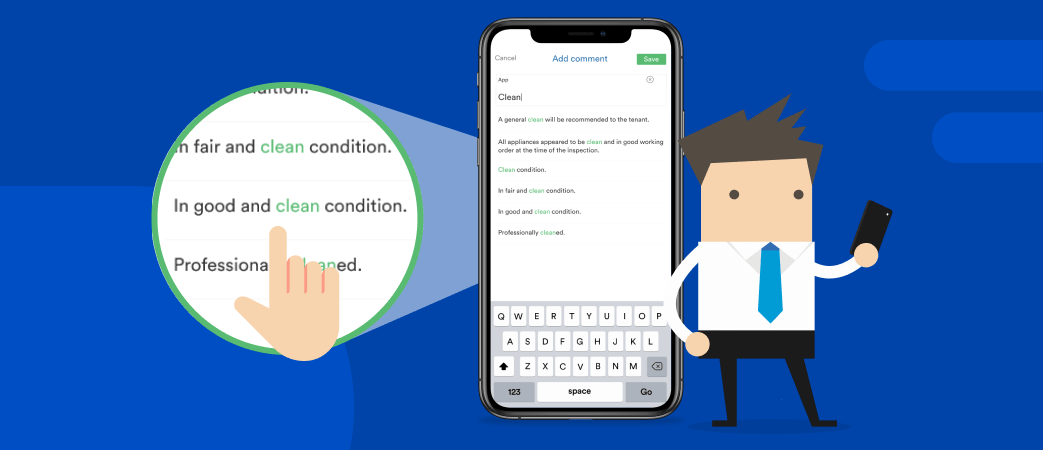
Add comments using Predictive Phrasing
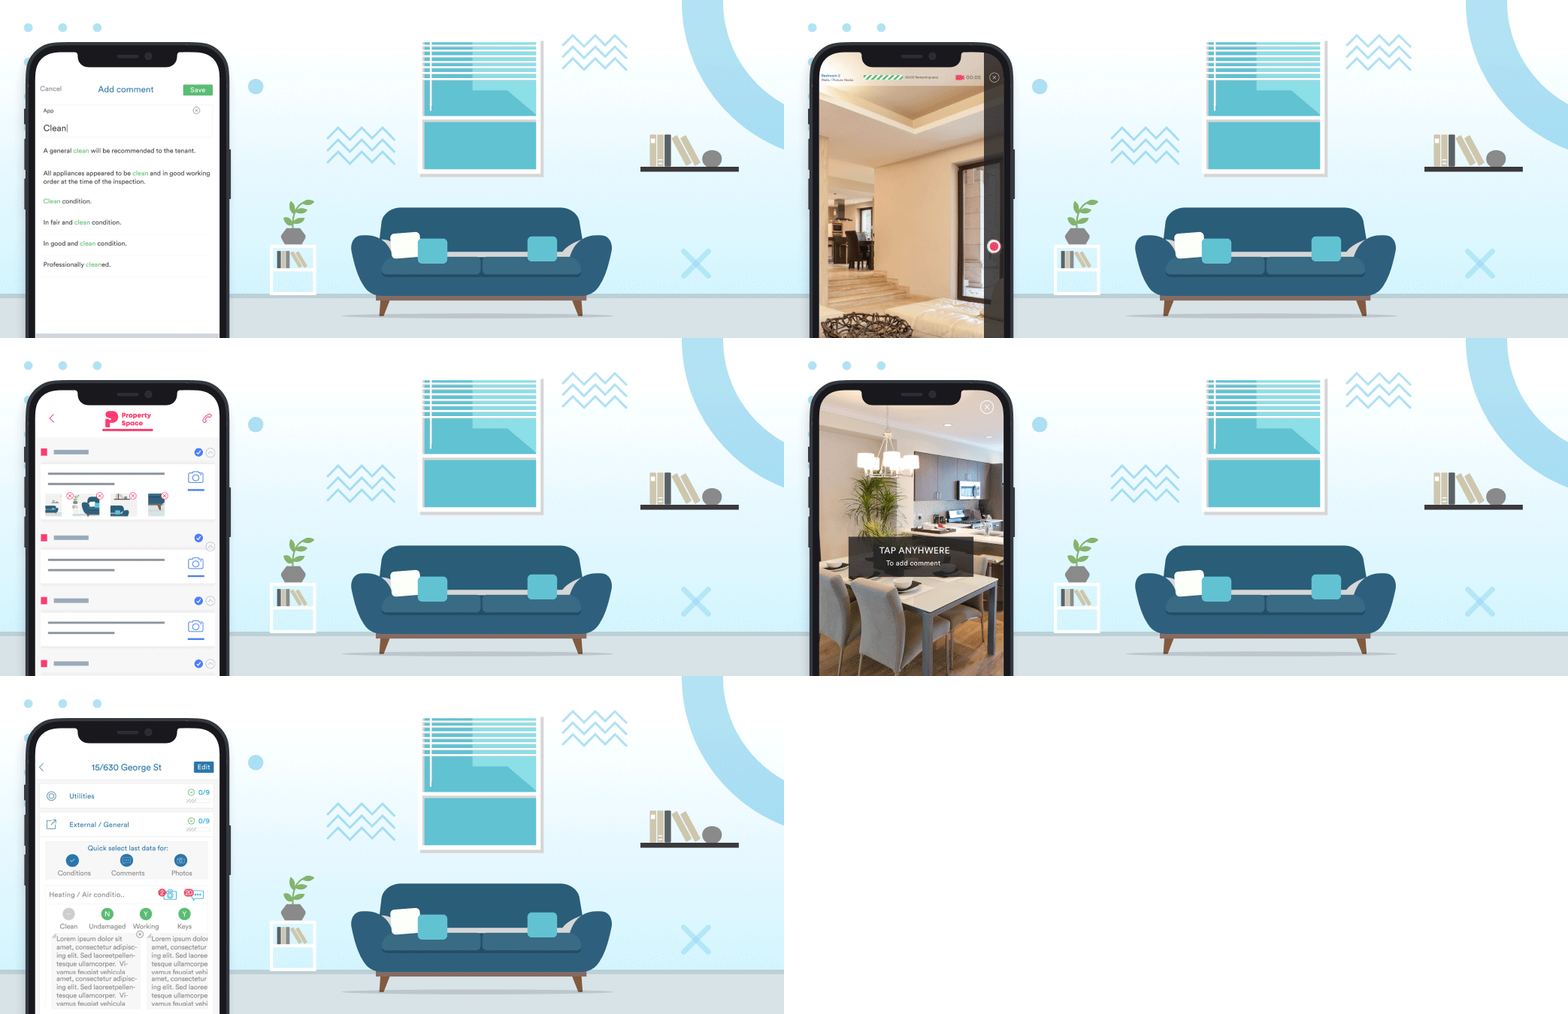
Another way to save time when entering inspection comments is to use our Predictive Phrasing dictionary to add in pre-written phrases. From the comment box in the IM app, simply type in the relevant keywords for your comment. For example, if you type “clean” you’ll see a list of pre-written phrases such as “all appliances appear to be clean and in good working order” and “the area was kept in a clean and orderly state, with no visible maintenance issues”. You can then edit these phrases from the comment box if needed.
Users are also able to customise the Predictive Phrasing dictionary from the IM CMS, go to the “Settings” tab then “Predictive Phrases” tab. You will see all the pre-loaded phrases which can be edited. There will also be a text box for you to enter your own phrases. You can also create a shortcut code for a specific phrase. For example, the shortcut code for “General maintenance is recommended” is “XGM”. When conducting the inspection, you can simply type in the code “XGM” to add that specific comment. To learn more about how to use the Predictive Phrasing feature, you can view our training video here (see 6:35 – 7:51, 14:03 – 14:23, and 19:00 – 19:28).
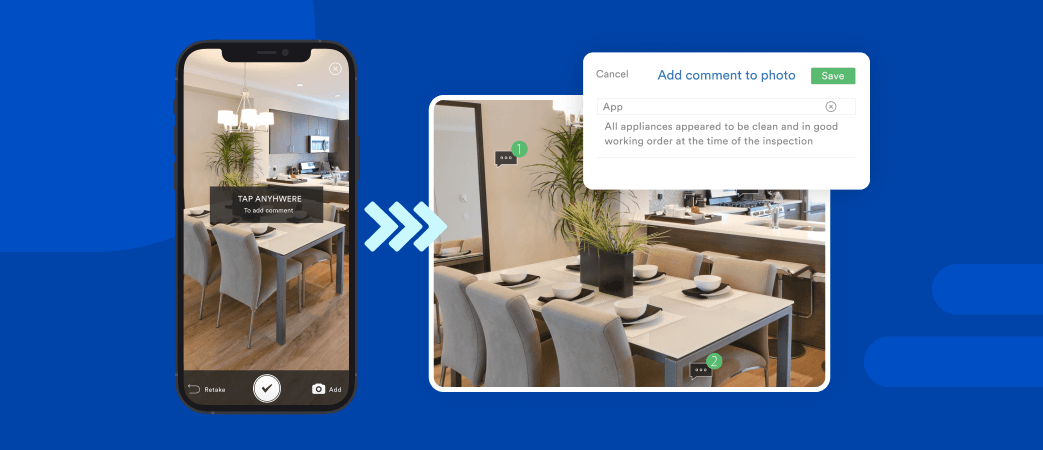
Tag specific areas in photos
As you take photos during the inspection, you can comment on a specific part of the photo using our Tap and Tag feature. This allows you to draw attention to specific problem areas that may not be immediately obvious from looking at the photo. For example, if there is a small crack on the wall, you can take a photo of the wall and tag a comment on the area where the crack is. This way you can show the exact location of the crack as well as the wall itself.
Last Inspection Data
This is one of our most used features that allows you to pre-populate the date from a previous inspection into a new inspection. This feature is designed for times when there have been minimal changes to the property since the last inspection. Since most of the conditions, photos and comments will remain the same, you only need to make minor adjustment. This can save you a significant amount of time during the new inspection.
Here’s how to use Last Inspection Data
1. First, you need to check that the Last Inspection Data setting is enabled in the CMS.
2. Then search for the property you are conducting a new inspection for, using last inspection data. (Note: that the previous inspection needs to be in the “Closed” status for last inspection data to be transferred).
3. Click “Add a new inspection” then in the “Last Inspection Data” dropdown, select the inspection you want to transfer data from.
4. To the right of the dropdown, there are three boxes representing “Conditions” “Comments and “Photo”. Highlight the boxes to select the type of data you want to transfer (i.e. conditions, comments and/or photos).
5. Now go to the IM app and go to the new inspection you just created.
6. Tap on the inspection to sync the last inspection data.
7. Tap “Perform Inspection”, you’ll notice that when you tap into each Area, you’ll see the data from the previous inspection.
8. Go through each Area and tap on the parts of the last inspection data you want to reuse. You can also make changes by tapping on the relevant conditions/comments/photos to edit them.
9. Once you’ve completed the inspection, simply “Sync Now” to sync the report back to the CMS. As usual you can review and make any further edits before Closing the inspection.
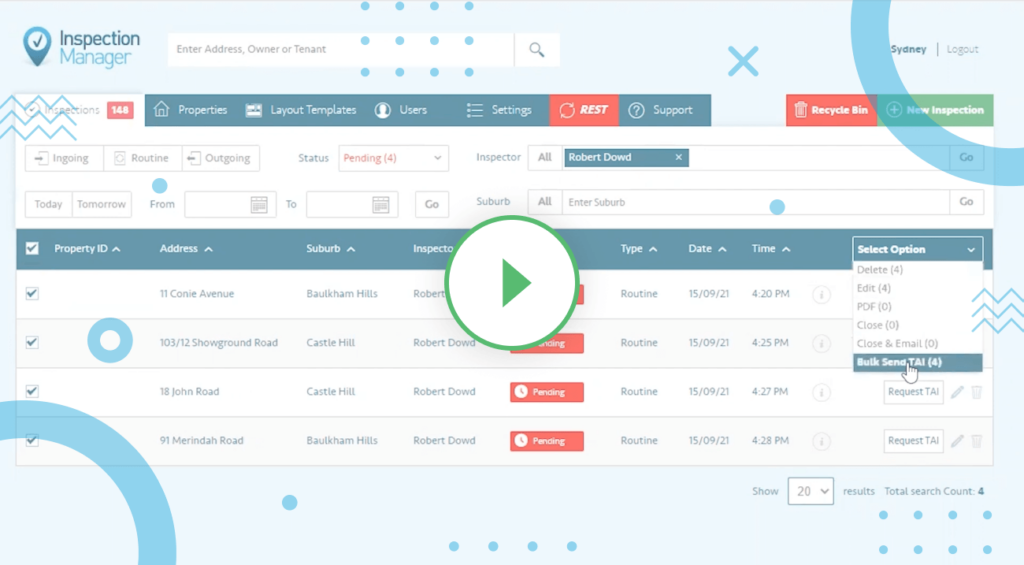
You can also view our training video on Last Inspection Data here.
Tenant Assisted Inspections
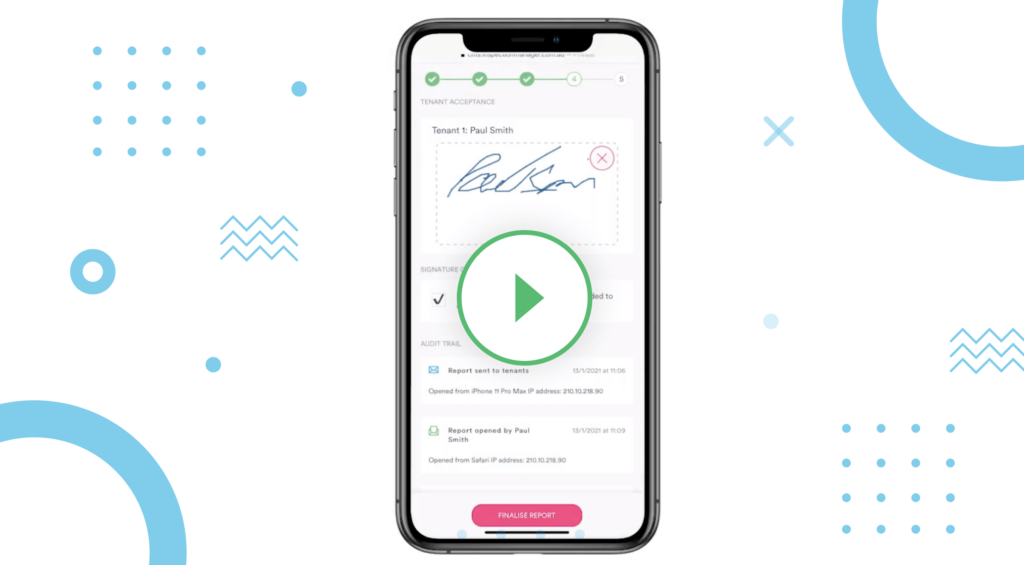
Our Tenant Assisted Inspections feature allows property managers adapt to current challenges of COVID-19 by enlisting the help of tenants to complete routine inspections. With Tenant Assisted Inspections, you will be able to keep up with routine inspections while adhering to safety guidelines and preventing unnecessary exposure to COVID-19.
Even after the pandemic has passed, you can continue using Tenant Assisted Inspections at times when conducting an in-person routine inspection may not be convenient or necessary. For example, if you are on leave and cannot find someone to cover for you, scheduled routine inspections can still be done on time with the help of our Tenant Assisted Inspections feature.
For information on how to use Tenant Assisted Inspections, you can download our guide here or view our training video here. If you haven’t yet started using the feature, you can request to activate it on your account here. Check that you have also completed our simple setup requirements beforehand.
Integration with Trust Accounting Systems
Inspection Manager is the only inspection software to provide seamless integrations with every major Trust Accounting System, including Console Cloud, PropertyMe, PropertyTree, REST Professional, Re-Leased and Palace. With these integrations, you can sync all your property and inspection data from your Trust Accounting system into Inspection Manager. This can save you the hours of time it would take otherwise to do manual entries and deal with missing or duplicated information.
We are the first in our industry to offer a live sync experience with Console Cloud. This means your inspection and property data will be automatically updated on both systems when any changes are made. You’ll always have the most accurate version of your inspection data on both Console Cloud and Inspection Manager, giving you more time to focus on your priorities.
If you are using one of the Trust Accounting Systems listed above, you can contact our support team to set up the integration.
As an industry-leading inspection software that has been around for over 10 years, Inspection Manager is packed full of features that are designed to save you time and simplify your workflow. As part of our mission to help make your life easier as a property manager, we are constantly enhancing our product based on your feedback. If you have any suggestions for new features, share them here and we can get our product team to make it a reality!

